How It Works

A comprehensive guide to using the HitRequest DJ Request System

For Event Attendees

1. Finding an Event

There are two easy ways to access an event:

  • Browse Active Events: On the homepage, scroll down to see all active events. Click on any event to enter.
  • Enter Event Code: If you have an event code (usually displayed at the venue), enter it in the code box on the homepage.
  • Scan QR Code: Many events will have a QR code displayed that you can scan with your phone's camera to instantly access the event page.

2. Submitting a Song Request

Once you've accessed an event, you can easily request songs:

  1. Fill out the request form with:
    • Song title
    • Artist name
    • Your name
    • Optional message or dedication
  2. Click "Submit Request" to send your song to the DJ.
  3. Your request will appear in the "Current Requests" list with a "Pending" status.

3. Voting for Songs

Boost your favorite requests to help the DJ know what's popular:

  1. Browse the "Current Requests" list to see what others have requested.
  2. Click the heart icon next to any song you'd like to vote for.
  3. The heart will glow and the vote count will increase.
  4. Songs with more votes have a higher chance of being played!

4. Tracking Request Status

You can track what's happening with all requests:

  • Pending - The DJ has received your request but hasn't decided yet.
  • Approved - The DJ has approved your song and will play it soon.
  • Playing - Your song is currently playing!
  • Played - Your song has been played.
  • Rejected - The DJ couldn't play your song (could be unavailable or not suitable).

For DJs & Hosts

1. Setting Up Your Account

  1. Register for a DJ account with your email and password.
  2. Log in to access your DJ Dashboard.
  3. From your dashboard, you can create events and manage requests.

2. Creating an Event

  1. From your dashboard, click "Create New Event".
  2. Fill in the event details:
    • Event name
    • Date and time
    • Venue/location
    • Description (optional)
  3. Choose whether to enable an access code for private events.
  4. Click "Create Event" to publish it.

3. Managing Song Requests

  1. Click on an active event to enter the DJ Event View.
  2. View all incoming requests in the Requests Table.
  3. For each request, you can:
    • Approve - Mark a song as approved to play soon
    • Play - Mark when you start playing a song
    • Reject - Decline requests you can't or won't play
    • Add Note - Add a private DJ note to any request
  4. Use the sorting options to organize requests by:
    • Most recent
    • Most votes (popularity)
    • Status
  5. Use status filters to focus on specific requests (Pending, Approved, etc.).

4. Live Updates & Sharing

  • Live Updates: The DJ view automatically refreshes to show new requests. You can adjust the refresh interval (5, 15, 30 seconds or manual).
  • Sharing Your Event: Share your event with attendees by:
    • Displaying the event URL
    • Sharing the event code (for private events)
    • Displaying the QR code at your venue
  • Event Statistics: View real-time stats about request counts, statuses, and most popular songs.

QR Code Design

Customizing Your QR Codes

Make your event QR codes stand out with these design options:

Basic QR Code Example
Design 1

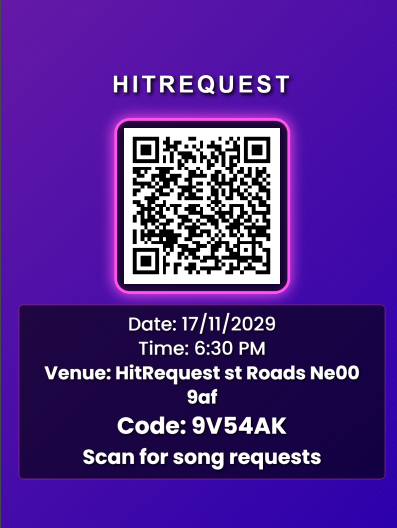
Simple and effective standard QR code

Branded QR Code Example
Design 2

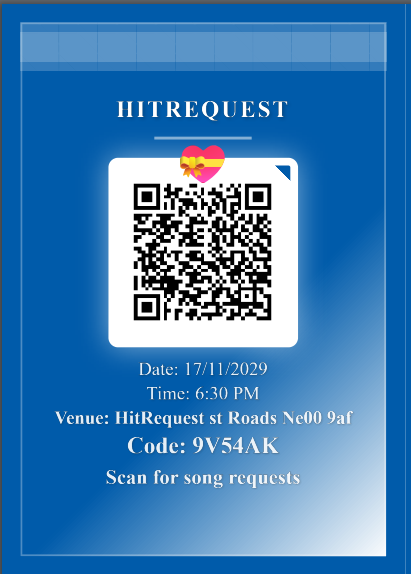
Add your logo or event theme

Styled QR Code Example
Design 3

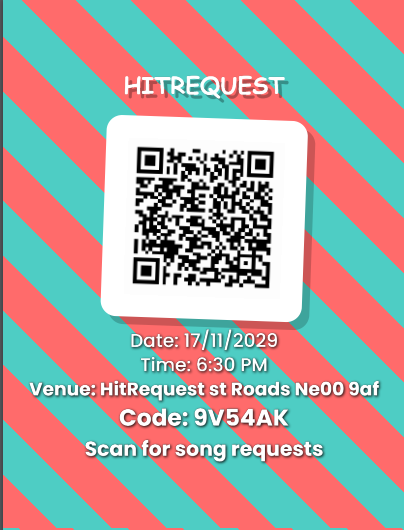
Custom colors and patterns

Design Tips

  • Keep high contrast between QR code and background
  • Test the QR code after customizing
  • Include a clear call-to-action near the QR code
  • Print at an appropriate size (minimum 2x2 inches recommended)

Display Ideas

Table Displays

Place QR codes on table tents or stands for easy access

Event Posters

Integrate QR codes into your event posters and signage

Song Voting System

How Voting Works

Our voting system helps DJs understand what songs are most popular with the audience:

  • For Attendees:
    • Click the heart icon next to any song request to vote for it
    • You can vote for multiple songs, but only once per song
    • Your vote is tracked by your device/IP address to prevent duplicates
    • When you vote, the heart glows and the counter increases
  • For DJs:
    • Songs are displayed with their vote counts
    • The "Sort by Votes" option shows the most popular songs first
    • A special "Most Popular" section shows the top 5 requested songs
    • Heart icons grow larger as they receive more votes for visual impact

Benefits of Voting

The voting system creates a more interactive and engaged experience:

  • For Attendees:
    • Increases the chances your favorite songs will be played
    • Creates a more collaborative atmosphere at events
    • Helps influence the direction of the music
  • For DJs:
    • Gain insights into audience preferences
    • Easily identify crowd-pleasers
    • Create a more engaged audience
    • Balance personal judgment with audience desires

Frequently Asked Questions

After submitting a request, you'll see a success message, and your song will appear in the "Current Requests" list with a "Pending" status. The list updates automatically, so you'll always see the current status of your request.

There are several reasons a DJ might reject a song: they may not have the track in their library, the song might not fit the current vibe, or there may be too many requests to play them all. Some DJs add notes explaining why a song was rejected.

Yes, you can submit multiple requests. However, DJs may prioritize requests from people who haven't had a song played yet, so everyone gets a chance. Consider voting for existing songs instead of requesting duplicates.

In the DJ Event view, you'll find a "Share Event" section with the event URL, access code (if enabled), and a QR code. You can download the QR code and display it at your venue, share the link on social media, or simply tell attendees the access code.

Yes, both DJs and attendees need internet access to use HitRequest. The system is designed to work with mobile data or WiFi connections. If connection is lost temporarily, the system will attempt to reconnect automatically when possible.

Tips & Best Practices

For Attendees

  • Be specific with song details - Include both artist and title to ensure the DJ finds the correct track.
  • Check existing requests - Before submitting, see if your song has already been requested and vote for it instead.
  • Add context in your message - "This is for the birthday girl!" or "This was our first dance" helps DJs understand the significance.
  • Be patient - DJs receive many requests and need to balance the overall flow of music.

For DJs

  • Update request statuses promptly - Keeps your audience engaged and informed.
  • Use DJ notes - Add notes to yourself about where a song might fit in your set or why you're rejecting a request.
  • Display the QR code prominently - Print it large and place it in visible locations around the venue.
  • Announce the system - Let attendees know they can request songs through their phones.
  • Use the voting data - Pay attention to the "Most Popular" section to gauge audience mood.

Ready to Get Started?

Find an event or create your own as a DJ - it's quick, easy, and makes music requests a breeze!